Saturday, May 25, 2013
Fun finishes
I never paint my beads but after the recent workshop where we used a bit of paint, I still had the bottles on the worktable. The other day, after I had made a set of my usual scribed beads using silver powder instead of black, I thought they looked too bland. So I grabbed the gold metallic paint and voila, now they look pretty. To protect the paint I sprayed the beads with PYM II and then machine buffed them lightly. Me like!
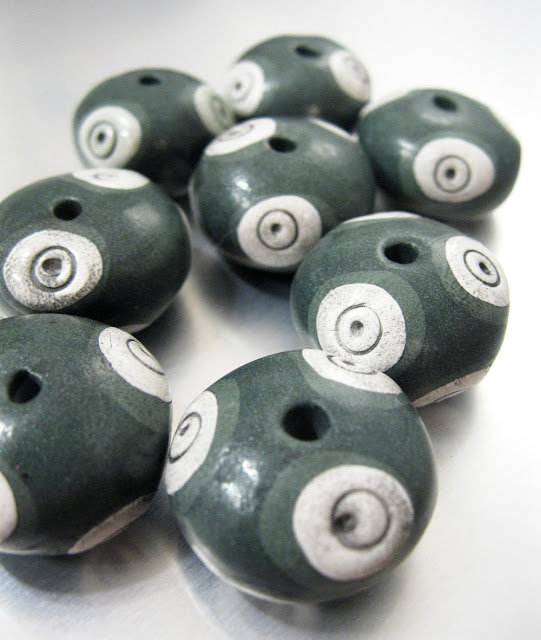
The teal clay below is a dark forest green that I mixed with Ultralight. If you mix Ultralight with regular clay and blend it all up, it results in a velvety matte finish. Usually I leave it as is after curing but I lightly machine buffed these and I like the way they turned out. It looks very ceramic-ish to me.
And more of the usuals...
Friday, May 24, 2013
I guess I'm in the minority but I like the new flickr
I guess I'm in the minority but I like the new flickr.
I can still find everything. The "Recent Activity" page (which is the one I have bookmarked on the computer and my phone) is still the same as it always was.
I love that the pictures are large enough to view without having to click on each one to get a good look at it. If I do want to check it out further or add a comment, I right-click and open a new tab so I can go back to it after I've scanned all the new images.
I can run through all of contacts' latest pics at a glance. Look at those turquoise treats from Wired Orchid and Diva Designs. And the funky little lady face from Alice Stroppel!
I like that I can scan a photostream quickly without having to scroll scroll scroll through pages of photos.
I can still find everything. The "Recent Activity" page (which is the one I have bookmarked on the computer and my phone) is still the same as it always was.
I can run through all of contacts' latest pics at a glance. Look at those turquoise treats from Wired Orchid and Diva Designs. And the funky little lady face from Alice Stroppel!
I like that I can scan a photostream quickly without having to scroll scroll scroll through pages of photos.
Sunday, May 19, 2013
Mixed Media
The other day I did one of my usual "scribed" designs on a circle of clay but the color needed a little boost so I pulled out the colored pencils and touched it up. After I colored it, I discovered that the waxy colored pencils buff up to a lovely satiny shine. So then I decided to make a design on plain white clay and color the whole design (I had already scribed the design in, covered it with Pearlex, cured it, and sanded off the Pearlex using my usual method. Shee how I covered a bead with the Pearlex: http://www.flickr.com/photos/artybecca/4925713644/in/set-72157624802328426/)
I used a coiled wire on the back as the loop for the choker wire. I baked the colored top first, then applied raw clay to the back and pressed the coil into it. I put a thin strip of clay inside the loop and pressed it into the coil to strengthen the bond. Then I trimmed the raw clay using the edge of the cured clay as my guide. I cured the whole shebang again, then colored and buffed it.
This was white clay underneath. All the color is from colored pencils. I used Spectracolors. I don'think you can buy them anymore... my set is a box of 100 I've had for 20 years. |
Above and below is on white clay. |
This one was made of colored colored clay and I added colored pencil on top, then buffed it. |
I used a coiled wire on the back as the loop for the choker wire. I baked the colored top first, then applied raw clay to the back and pressed the coil into it. I put a thin strip of clay inside the loop and pressed it into the coil to strengthen the bond. Then I trimmed the raw clay using the edge of the cured clay as my guide. I cured the whole shebang again, then colored and buffed it.
Subscribe to:
Posts (Atom)